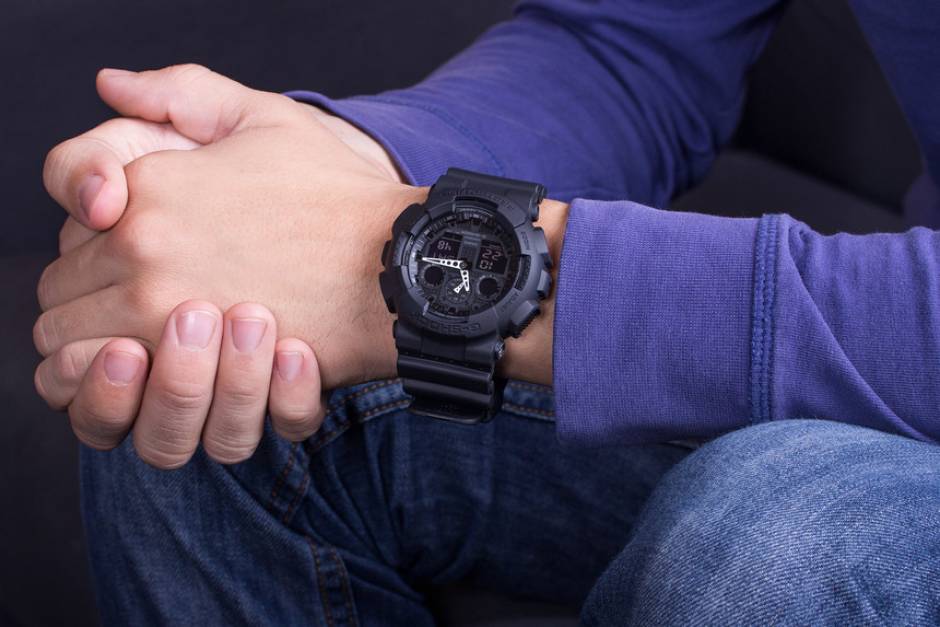
An Easy Guide to Setting the Time on Your Casio Watch With Four Buttons
Casio watches are known for their durability, functionality, and ease of use. While digital watches may seem straightforward, setting the time can sometimes be a bit tricky, especially if you’re unfamiliar with the specific watch model. In this blog post, we’ll guide you through the step-by-step process of setting the time on a Casio watch with four buttons.
Table of Contents

Understanding the Four Buttons
Before we begin, it’s important to note that the button layout and functions may vary slightly across different Casio watch models. However, most Casio watches with four buttons follow a similar pattern. The four buttons are typically labeled as follows:
- Adjust/Mode
- Start/Stop
- Split/Reset
- Light/Illuminate

Setting the Time
Step 1: Enter Time Setting Mode
The first step is to enter the time setting mode on your Casio watch. To do this, follow these steps:
- Locate the “Adjust/Mode” button (usually the top left button).
- Press and hold the “Adjust/Mode” button until the seconds digits start flashing on the watch’s display.
Step 2: Set the Time
Once you’re in the time setting mode, you can adjust the time using the following buttons:
- Press the “Start/Stop” button (usually the top right button) to advance the flashing digits.
- Press the “Split/Reset” button (usually the bottom left button) to switch between adjusting hours, minutes, seconds, and other settings (if applicable).
- Continue pressing the “Start/Stop” button to cycle through and set the desired time.
Step 3: Set the Date (Optional)
If your Casio watch has a date display, you can also set the date while in the time setting mode. Follow these steps:
- After setting the time, press the “Split/Reset” button until the month digits start flashing.
- Use the “Start/Stop” button to adjust the month.
- Press the “Split/Reset” button again to switch to the date digits.
- Use the “Start/Stop” button to set the correct date.
- Repeat this process for the year digits, if applicable.
Step 4: Set Other Settings (Optional)
Some Casio watches may have additional settings that can be adjusted in the time setting mode. These may include:
- 12/24-hour format
- Day/date display format
- Hourly time signal (beep)
- Auto-calendar (automatically adjusts for different month lengths)
Refer to your watch’s instruction manual for specific details on adjusting these settings, as the process may vary between models.
Step 5: Exit Time Setting Mode
Once you’ve set the time and any other desired settings, you’ll need to exit the time setting mode. To do this, press the “Adjust/Mode” button until the seconds digits stop flashing, indicating that the time has been set and saved.
Additional Tips:
- If your watch has a battery level indicator, it’s a good idea to check and replace the battery if it’s running low before setting the time.
- Make sure to follow the correct button sequence, as pressing buttons out of order may cause unintended changes or exit the time setting mode prematurely.
- Some Casio watches may have additional features or modes that require different button combinations. Consult your watch’s manual for specific instructions.
Setting the time on a Casio watch with four buttons may seem daunting at first, but with a bit of practice and patience, it becomes a straightforward process. Remember to take your time, follow the steps carefully, and refer to your watch’s manual if you encounter any difficulties.
Disclaimer: This guide is for educational purposes only. Always ensure you handle your devices with care and follow the manufacturer’s guidelines. If you’re unsure about the specifics of your watch band, consider seeking help or advice from a professional.
Learn how to pair your Amazfit watch without a QR code with our step-by-step guide. This tutorial provides clear instructions to help you connect your Amazfit watch to your smartphone, ensuring you can start tracking your fitness and health data without any QR code hassle.

My name is Oje and I’m obsessed with finding the latest tech gear to help people track progress and solve problems more efficiently. I spend countless hours researching and testing innovative apps, wearables, and devices for fitness, health, productivity, and more.
